How to Save Images for Web
Large image file sizes over 2MB can significantly increase webpage load times when there are a lot of images on the same webpage. Even if a page with large images seems to load quickly on campus, these same pages may take much longer to load on someone else’s computer. That’s why a lot of web designers need optimized files for the web.
Keep your image file sizes relatively small by:
- Following the steps below for each Adobe program.
- Make sure the file is between 800KB and 1.5MB.
- See below for specs for each type of work you will be submitting.
How to Save for Web with Photoshop and Illustrator
- Go to File > Export > Save for Web (Legacy)…
- A dialogue box will appear. Select JPEG and adjust the quality to make sure the file is between 800KB – 1.5MB.
- If this image is for the Student Show, then make sure the width is 2,000px and the program will adjust the height for you, so leave that alone.
- Make sure you have the checkbox for “Progressive” selected.
- Click Save. Choose where you want to save the image.
- Make sure to name the file correctly.
How to Create a Placeholder Image with InDesign
Some web pages, like our Student Show, will have an image to preview a magazine layout or a book cover. We can call this a placeholder image. Website users can click on this placeholder to see a PDF file. Usually, a new window or tab will open showing the PDF file or it might be downloaded to a user’s computer. Below are the steps to create a placeholder image.
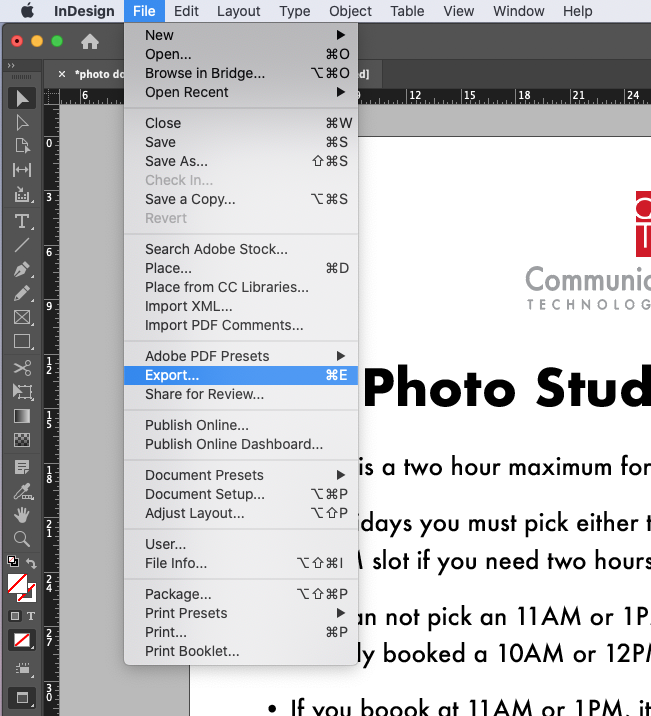
- Go to File > Export…
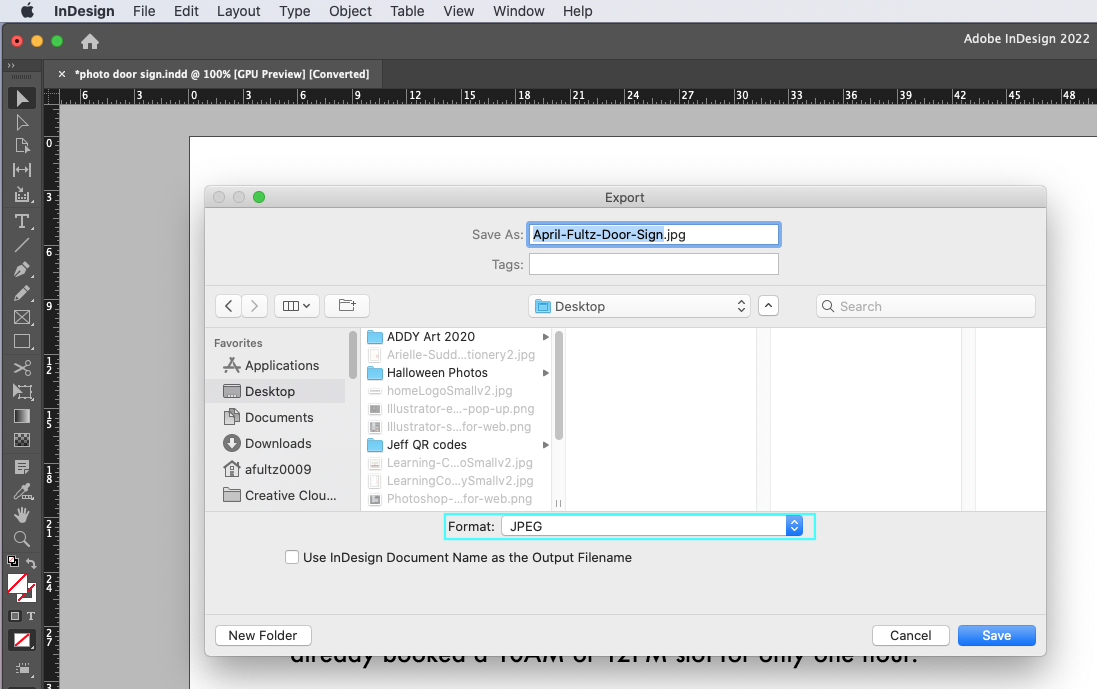
- A dialogue box will appear.
- Make sure to change the format to JPEG or JPG then choose where you want to save it.
- Make sure to name the file correctly.
How to Create a Placeholder Image in Animate
For a good user experience on a website, users usually want to click on a placeholder image before a video plays. Most browsers no longer support SWF files so make sure to get help from your teacher on how to export your animation to a MOV file.
To create a placeholder image, follow the steps below.
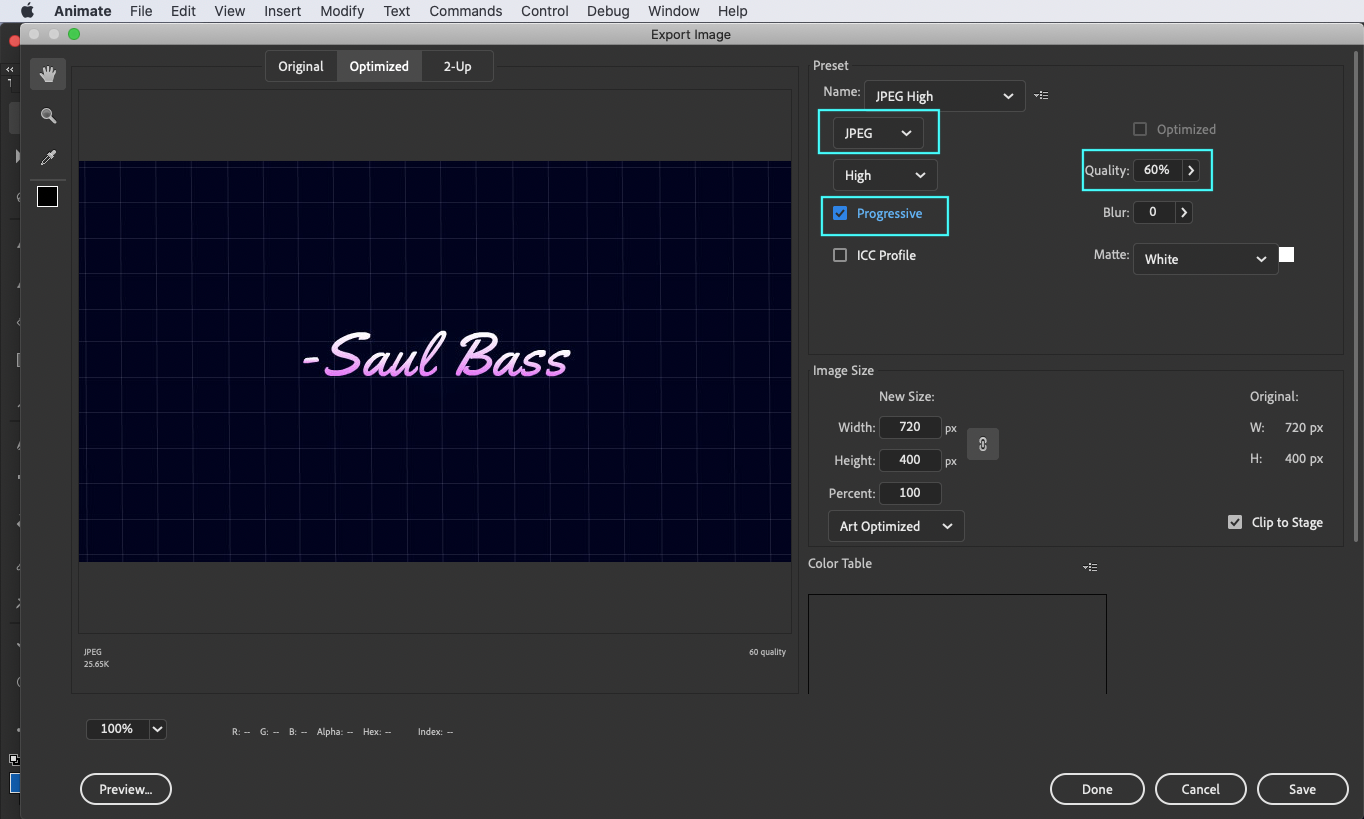
- Go to File > Export > Export Image…
- A dialogue box will appear.
- Select JPEG and adjust the quality to make sure the file is between 800KB – 1.5 MB.
- Make sure you have the checkbox for “Progressive” selected.
- Leave the height and width alone to ensure it will be the same size as your animation.
- Click Save. Choose where you want to save the image.
- Make sure to name the file correctly. DO NOT use spaces, use hyphens when naming the file. This will ensure the file will display properly online.